The return ducts bring cooled or warmed air to your air conditioner unit or furnace. Below we show you how to install a return air duct in the wall, how it functions and the benefits it brings to your home.
What Are Return Air Ducts?
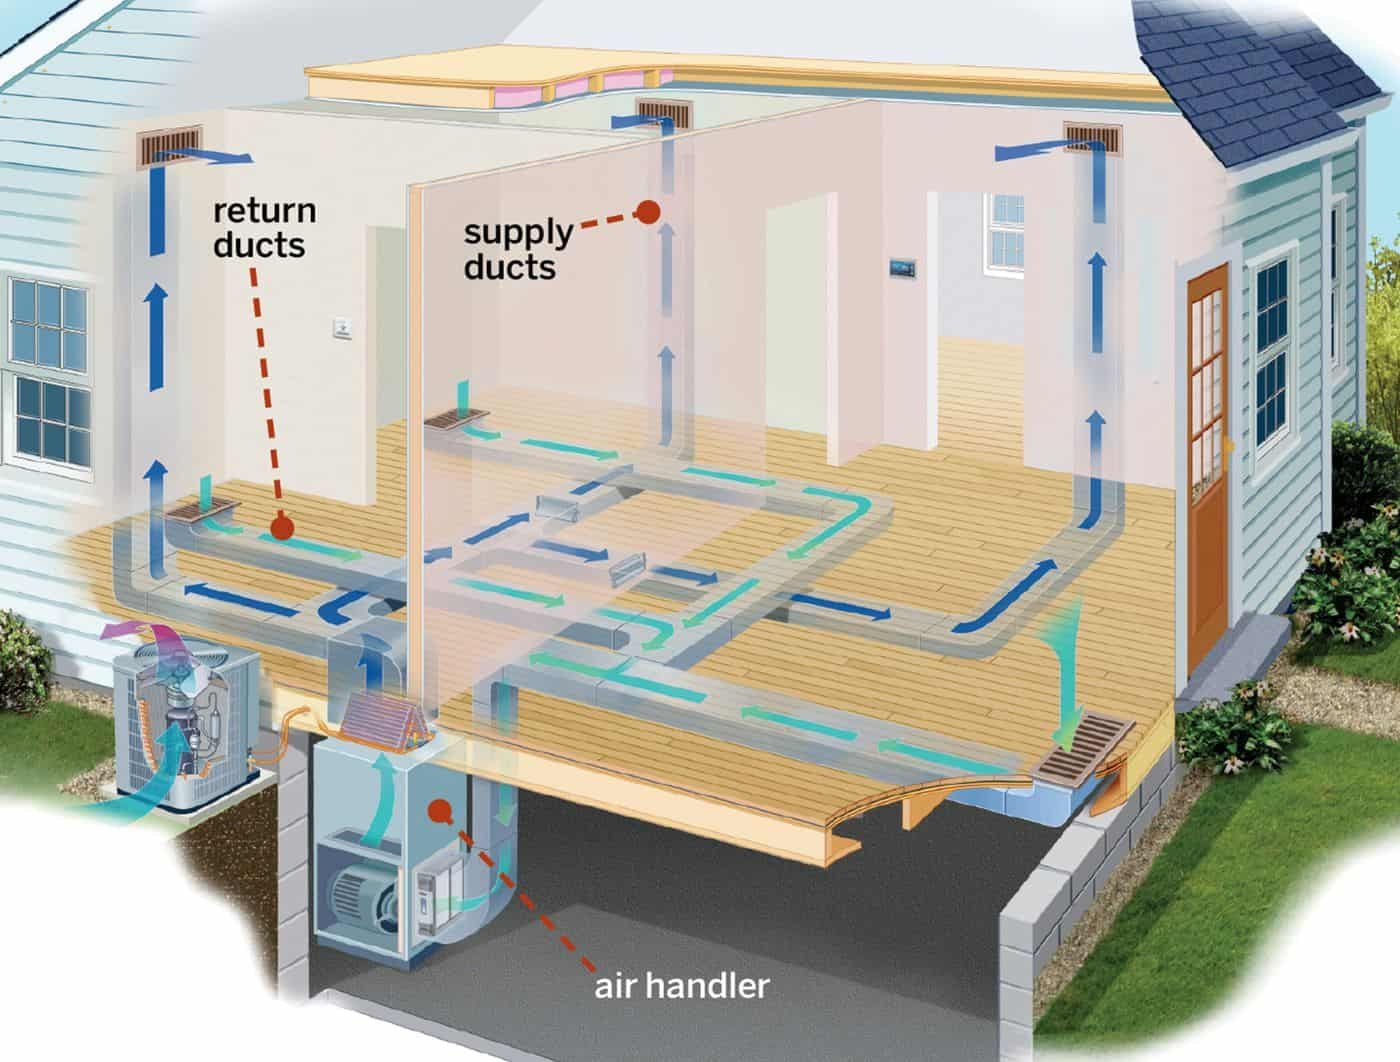
In a forced-air heating and cooling system, a network of ducts run through your home. These ducts carry air to and from your heating and cooling system. Air enters and exits the ducts through vents (see diagram above).
The system of ducts includes supply ducts and return ducts. The supply ducts circulate conditioned (heated or cooled) air. And the return air ducts carry expended air back to the HVAC system so that it can be heated or cooled again.
Why Do We Need Return Air Ducts?
In the winter, you heat your home. When warm air enters a room, it replaces the cooler air. The cooler air must leave the room; otherwise, it becomes over-pressured. The cooler air enters the return air duct to the furnace, where it reheats, and the cycle begins again.
The return air ducts are necessary to prevent pressure buildup that may lead to illness and avoid mould and building deterioration. Moreover, the air would not properly circulate without a return air duct, and your energy costs would rise.
How to Install Return Air Duct in Wall
Typically, return air ducts utilize space in the ceiling joist as the starting point of the ductwork. The joist spaces connect to an existing duct, which runs to the studs at a 90° angle.
Suppose you have decided to save some money and install the ductwork for your HVAC system on your own. In that case, we provide step-by-step instructions below to install a return air duct in the wall successfully.
Determine Location of the Ducts

Locate where you want your return air ducts. Cut a small hole by hand low in the drywall where you want to put your return air register (grille). Peek through the hole to ensure that there are no pipes or electrical wires behind the wall. Size the hole appropriately to the grille size. Through the hole, cut through the floor into the basement ceiling joist space. Repeat this step until you have the desired number of return air holes. There should be at least one per room except for the bathroom.
Plan the Installation of the Return Air Ducts
Locate the holes in the basement. At the farthest hole, notch the panning to fit, bend it up and attach it to the floor to close off the space. Nail the panning to the bottom of the ceiling joists. By the furnace, stop all the panning in the joists at the same spot. Notch this side also and take it up to the floor. In a line perpendicular to the joists, cut holes in the panning. The panning holes are the air’s entry point into the return air duct that runs to the furnace.
Block Off Ductwork
Install the square return air duct at a 90° angle to the joists so that they cover up all the holes you cut in the panning. To allow air to enter the return air duct, cut holes in the top of the air duct to match the holes in the panning. The return air duct is connected using s-slips and drive cleats. Install the return air duct tight to the bottom of the ceiling joists, so it seals tightly with the panning. To improve energy efficiency, insulate the return air duct with fibreglass duct wrap.
Secure Air Return Duct to Furnace
Cut a hole in the bottom of the return duct next to the furnace. You will use the hole to attach another duct that connects to the furnace. Cut a hole in the side of the furnace that matches the size of your filter rack. Make the connections from the bottom of your return cut to your filter rack and attach them to the furnace. Cut duct as necessary to fit.
Install Air Filter
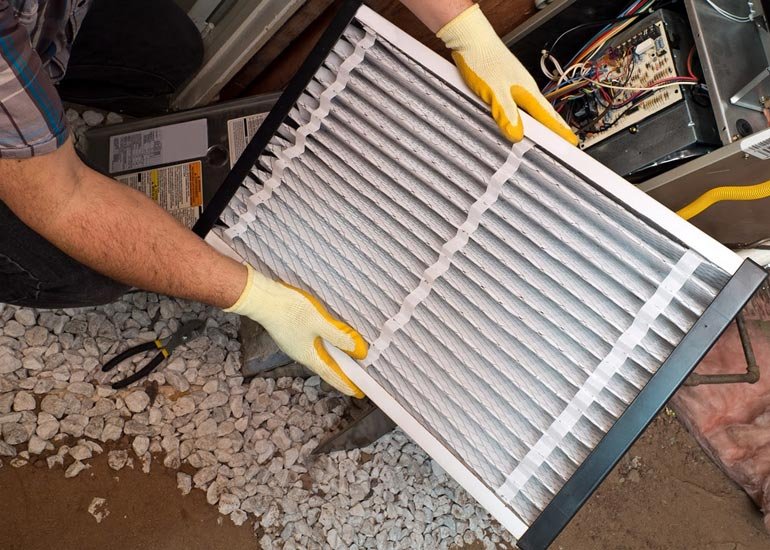
Install your HVAC filter into your filter rack. Caulk all joints and seams of the duct with high-quality clear silicone caulk for best energy performance.
Install Return Air Register Covers
Screw all your return air registers over the holes that you cut upstairs. Your return air duct system is now complete.
 Clean the Ductwork
As discussed, return air ducts are an essential component of the heating process. Do not install the return ducts in the kitchens or bathrooms, as the moisture and odours will circulate throughout your ductwork system.
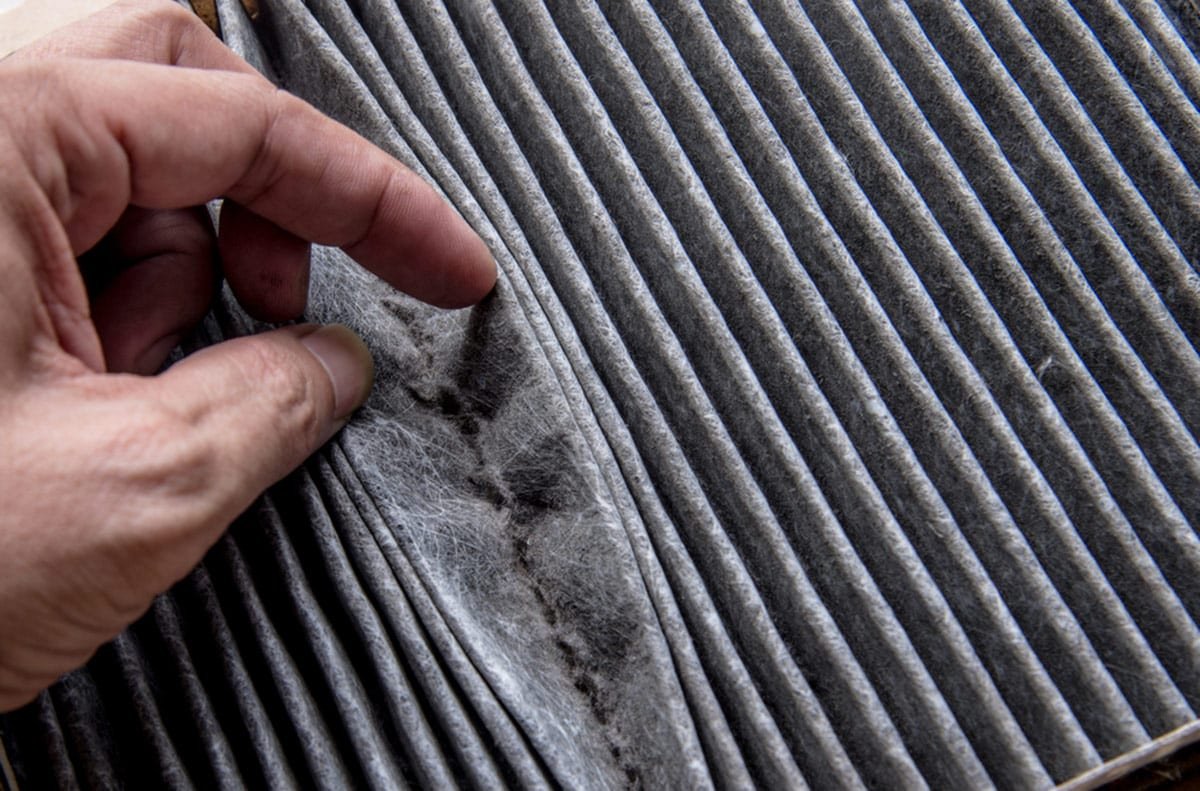
Cleaning the ducts is essential. Dirty return ducts will cause your forced-air heating system model to circulate debris and dirt throughout your place, which could lead to many problems, including respiratory issues.
How to Install Return Air Duct in Wall – Conclusion
You now know how to install a return air duct in the wall and some of the benefits it brings to your lovely home.
Suppose you are not confident in successfully installing the ducts at your home. In that case, it is better that you schedule a call with a qualified HVAC professional or technician to assist you in installing the air duct system. Proper air duct installation and regular maintenance mean that you and your family are safe and comfortable at your place.


 Clean the Ductwork


